After flying the Towel for quite some time, I decided it was time for a slightly more complex RC plane project. Browsing the Flite Test scratch build library, I found the FT Tiny Trainer, which looked about right for me: it was a 4-channel airplane, construction was not overly complex, it didn't require vast amounts of storage space, and it looked pretty docile.
And so it began...
Layout out the tiled plans.
Cutting out the first parts. This is much more complex than either the Towel or the F22.
I needed to do some aluminum drilling for my motor mount. Since my workshop is right in my condo and not in a garage somewhere, I setup my vaccuum to suck in the swarf as soon as it was produced:
No-mess drilling.
This worked quite well. (Since then, I've acquired a wed/dry shop vaccuum which I could use for this purpose in the future.)
The "power pod" turned out quite nicely:
Assembled power pod.
Testing fit.
Final assembly with nuts.
I proceeded, putting together the body methodically. It was extremely gratifying to see things come together. (I was a bit down because of health issues at that point in time and I distinctly recall this weekend as having an incredibly positive impact on my morale.)
Test fit for the tail.
Folding up the fuselage.
Assembled fuselage, with a control rod test.
Putting the tail on the body.
I had to add a bit of extra foam to keep the tail stable because the thickness of mine didn't quite match what the plans were made for.
Attaching the rod to the elevator.
A view of the servos, tucked inside the fuselage. I only had 9g servos, not 5g as recommended, so things are a bit tight.
It was lots of fun to see the surfaces moving for the first time:
Control surface test.
I carried on, attaching the nose to the body.
Affixing the nose to the body. In retrospect, that rear mounting point is way too small, it should be bulked up; it gives way at the first crash.
Starting to look like a plane!
Next it was time to put together the wing. With its curved leading edge, this was a bit more complex than my other constructions so far.
Cutting out the wing and preparing for the big fold.
Success!
You can see the curve in the leading edge of the wing.
Putting in the dihedral angle for extra craft stability.
It came out nice and sturdy.
Fishing the servo extensions through the body of the wing.
Once again, testing the control surfaces for the first time was mightily satisfying.
Testing out the wing surfaces.
I made a few thrust tests prior to the maiden flight.
Making sure everything works.
And finally it was time to fly it!
Ready to fly on a beautiful day!
Unfortunately I don't have a video of it in flight, but it was an unmitigated success. It was a very windy day, but other than that conditions were ideal. On my first launch, after a few flybys, I looked down at my controller for a fraction of a moment to flick a switch and in the time that took, I crashed into the ground nose first from an altitude of about ten meters. It was a very hard crash into packed gravel, but the little plane took it like a champ. One of the servos inside came unglued, but that was quickly fixed. Other than that, all that was needed was a little piece of tape for one of the points where the nose mounts onto the fuselage.
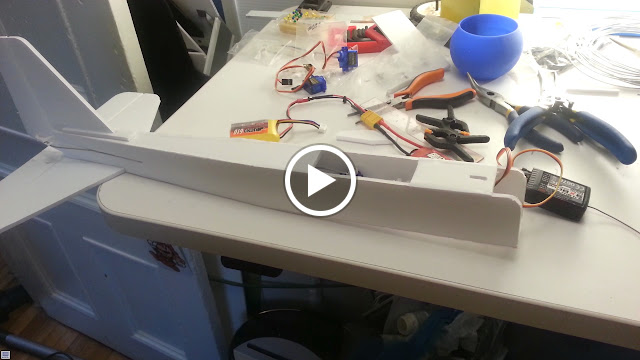
Connecting everything up.
My friend Greg strapped his Moebius HD recorded to the body on one of my flights up! You can see a few landmark Montreal structures in the video. I did a few acrobatics just before the 5:00 mark.
Absolutely, it flies super well with 9-gram servos! The build plans actually call for 5g servos, which gives you a bit more space inside the nose to fit all the electronics. In my case I only had 9g servos on hand so I used that. Since my pushrods on this model are "home made" and have a lot of friction the extra torque from the 9g servos helps.


Raptor,
ReplyDeleteAre you for hire?
Please email me!
trinitifx at yahoo dot com
Is it fly good with 9g servo??
ReplyDeleteAbsolutely, it flies super well with 9-gram servos! The build plans actually call for 5g servos, which gives you a bit more space inside the nose to fit all the electronics. In my case I only had 9g servos on hand so I used that. Since my pushrods on this model are "home made" and have a lot of friction the extra torque from the 9g servos helps.
Delete