In automn 2013, inspired by an article in MAKE Magazine about the Brooklyn Aerodrome's Towel project, my friend Pierre-Luc and I decided to get into the RC plane hobby without knowing anything about it. We spent a few evenings reading up on the technology behind electric planes and wound up ordering a few hundred dollar's worth of batteries, receivers, transmitters, servos, and various other bits and bobs from HobbyKing.
As it turns out, it takes some time for these things to arrive from the other side of the planet. In the meantime, we spent more time reading about the hobby, and we stumbled upon a design for an F-22 ("based on a design by Kosh, adapted for EPP by Dekan, with plans by Firetrappe") that piqued our interest. Now don't get me wrong, the
Towel is a fine airplane - but who wants to build a flying triangle when you can build an F22?? We figured we could simply use the parts we ordered for the Towel in the F22 and call it a day.
Little did we know..! (At the time of this writing, I've built and successfully flown
two other planes, so I get quite a few chuckles out of our inexperience at the time.)
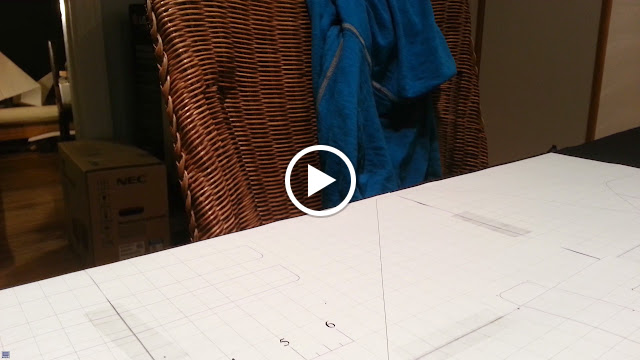
Waiting for the parts, we decided to start cutting the plans out from foamcore:
 |
| Pierre-Luc pinning down sheets and tracing outlines. |
 |
| Cutting out shapes from the foamcore. |
 |
| More cutting. |
 |
| Cutting auto-awesome! |
 |
| And a first part is out! You can see this bodes well, the front right portion of the nose was cut improperly. |
My cat insisted on helping out:
Finally, the parts arrived! :D We spent an evening soldering connectors, plugging stuff together, testing out the motors and servos:
 |
| Some of our first connectors. XT60 is not completely trivial to solder; there is a lot of thermal mass, and you don't want to deform the plastic. |
 |
| Trying out the servos. |
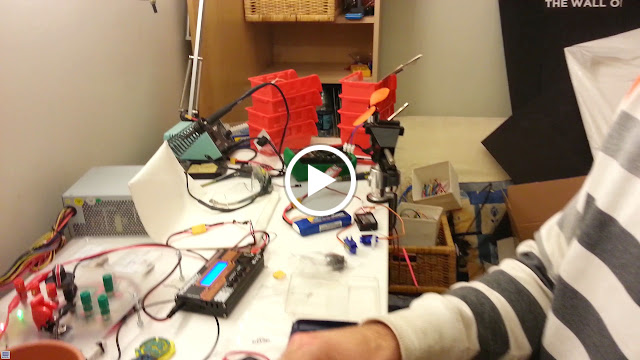 |
| Firing up the motor for the first time. |
 |
| Feeling flush. |
We continued with the assembly, testing parts for fit. We know the motor, propeller and battery we had were way larger than recommended, but we figured "meh, the plane will just be more powerful". Hahaha... Ha.
 |
| Testing the propeller for fit. That's a nine inch propeller in a plane designed for a 6- or 7-inch one. What could go wrong? |
 |
| First airframe almost complete! |
 |
| Working on a custom motor mounting bracket, made from tie-wraps and coroplast. |
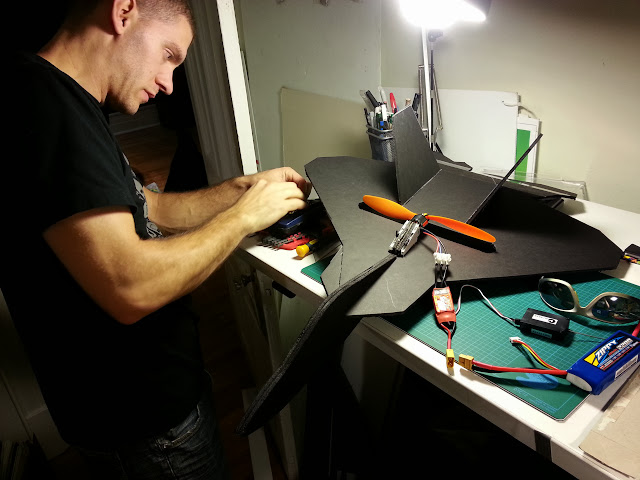 |
| Putting things together. |
 |
| Getting there! |
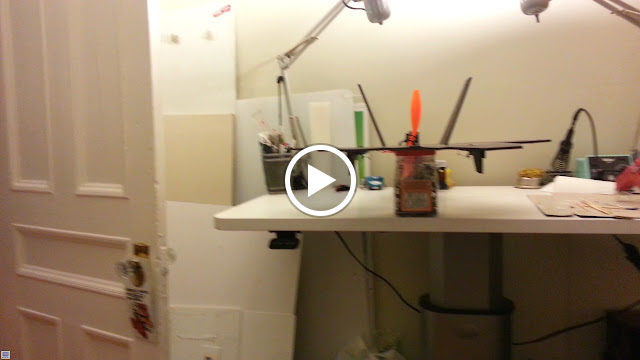
At this point I was really thinking about cool additions we could make to the plane. A few hundred grams more or less, what's the difference? I mocked up a light system that could be driven by a microcontroller. I spent some time reading the FAA's rules about lighting systems on planes, watched some planespotting videos, and came up with this:
 |
| Remote-controlled plane lighting prototype. |
We also noticed that once mounted in the slot, the propeller was quite loud. We did some research online and found some very interesting information about slot shape and noise, so for the second plane we decided to use the information to alter the shape of the propeller slot.
 |
| Bigger slot for less noise. There are a few centimeters of foamcore left on either side, surely that's enough?? |
For the record, this
did significantly reduce the amount of noise the plane made, though I still would have considered it loud by any standard.
We made some durability enhancements to the leading edges of the wings.
 |
| Taping a dowel rod in place. |
 |
| Part-way through taping. |
 |
| Finished result. |
I really wanted the plane to look nice, so I printed out some decal outlines, "laminated" them with packing tape, cut out stencils, and made some tests on foamcore.
 |
| Home-made stencil. |
 |
| About to test out the stencil with dollar-store paint. |
 |
| After a few tests, things looked decent! The trick was to lightly dapple the paint on with a cynlindrical-ish brush. |
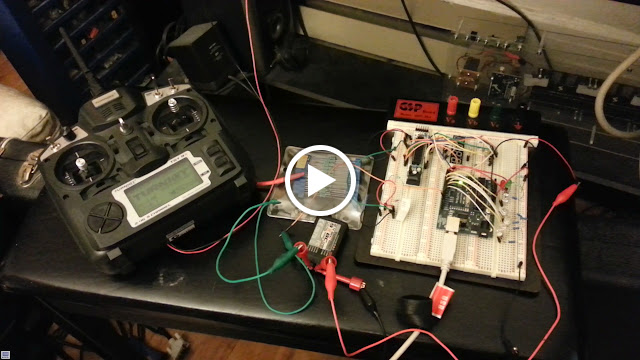
We finished the planes by adding the servos and control surfaces:
 |
| Testing the servos. |
Never mind that the rods are under the surfaces, and thus that to climb, the plane needs to compress the control rods (unless you have stiff rods or good channels, it should be the opposite); never mind that we are using soft steel wire that flexes and bows under compression. All in all these would be but minor factors in the aircraft's overall performance, as you will see below.
 |
| More tests. |
Finally, we completed one plane!! Completely giddy with excitement at the prospect of flying it, we strapped our 180g, 2200mAh battery onto our tiny plane and headed out. You have to understand - by this time, it is the dead of winter in Montréal, it is around -20C (-4F or so), there is a lot of wind, it is night time, we are headed for a small-ish park with neighbouring trees, and we have never flown a plane outside a simulator before. And then after a 20-minute walk in the cold, smiling and almost skipping, this happens:
 |
| Fail. You can't see anything but you hear our exclamations at the end. |
When the moment came to launch the plane, we realized we had wired the motor backwards and the propeller was spinning the wrong way. And we had not brought any tools!! What a pair of newbies. We headed home with our tails between our legs and waited for our next opportunity to fly.
You can tell that I was looking to make some nifty bombing additions to the plane before we maidened them:
 |
| Looking for a place for a bomb drop mechanism. |
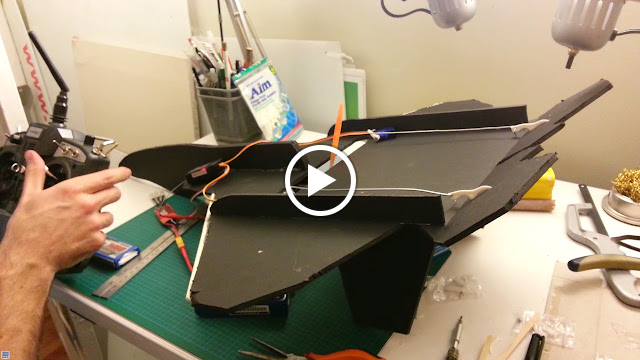
When next week rolled around, both planes were ready to rock!! We took a few pictures of our completed masterpieces - hard to say how much time we put into them, probably on the order of a couple dozen hours total to make both - and then we headed out into the winter night again, completely overflowing with anticipation.
 |
| Shinies! |
 |
| Ready for takeoff! |
This time out it's even worse, it's raining, everything is frozen with ice sheets, we are freezing our hands off holding the controllers and we have to warm our hands down our pants every few minutes. The planes are not waterproofed and the electronics are wet before we even throw the first plane. While plugging something in, Pierre-Luc rips something off his plane - can't quite recall what and it's hard to see in the video. Then we realize his transmitter is not correctly programmed, and overwhelmed with excitement, we decide to launch the plane anyway and "make up for it".
The videos are terrible - you can't see anything in the night - but I will post them here for posterity. French speakers might get a chuckle.
 |
| (warning: some foul language, we French borrow from English but the words lose their punch) |
Long story short, the planes "flew" a combined total of approximately five seconds each, which is just barely more than the ballistic time predicted by Newton's laws of motion. The planes were
way too heavy, the control rods were way too flexible, the control surfaces too small, the airframe too flexible, the prop too big, and generally nothing worked. We trekked home with our "lightly used" planes:
And... that was that. We tore off the electronics, which were not damaged, chucked the airframes into the garbage, and got down to business working on our
next planes. In retrospect, it's amazing we managed to cause so much damage to the frames in so little time.


Thanks
ReplyDeleteLol! When I saw what you guys were making, I really hoped that it would turn out to fly, but as I scrolled down the page, the images and videos didn't look so promising :D Imagine my dissapointment after seeing the final result :) Anyway, hope you guys will "evolve" in this hobby, and here is a thought for you: "FPV RC Planes" ;) Check this out http://mydronelab.com/best-pick/best-fpv-rc-planes.html
ReplyDelete