We're just back from a really cool exhibit called
Star Wars Identities. It's on its first stop of a six-year world tour, and it's really quite something. If you like Star Wars at all, you should really check it out; it's definitely worth a good detour.
They have a ton of original props, costumes, and sketches on display. As you tour, there are stations which outline the character development behind many Star Wars characters, with emphasis on Anakin and Luke Skywalker. In parallel with this analysis, you are invited to create your own character from the Star Wars universe by making a series of choices about your character's life and characteristics at eleven points around the circuit. At the end, your created character will be displayed on a giant wall, and you can elect to receive the character's picture and biography by e-mail.
As a geek, one of the things I was interested in was the techology behind the exhibit. It is quite well put together, and things run very smoothly. At the beginning of the exhibit, you are given an audioguide unit as well as a bracelet. The audioguide unit, a bit smaller than a hockey puck - and much lighter - hangs around your neck in a translucent case. It sports a power button, a volume dial, a channel button, and an earpiece. It does not actually contain any data; it receives the audio streams over infrared from emitters scattered on racks in the ceilings. You stand in a delineated area on the ground representing the IR coverage, and wham the audio just comes in. Though this means you essentially jump into the station's audio loop at a random point, the loops are very well written and recorded and never sound confusing; they are short and meaningful. This is great because it allows them to put as many IR stations as they want on the circuit, and people are not left fumbling with the audioguide units, trying to punch in the usual numbers corresponding to each station. Just walk up to the station and wham it talks to you; great for kids, lazy adults, and immersion.
The bracelet is an RFID(-like) device, used for the create-your-own-character feature. At many points during the exhibit, there are illuminated, raised hexagons, perhaps ten centimeters across, into which you can touch your bracelet. These hexagons respond by lighting up and emitting a tone. They are used in many fashions. For example, the first choice you have to make is your character's race; all possible races are displayed (statically) on a large wall, with a hexagon underneath each, and you simply touch your bracelet to the desired race's hexagon to select it for your character. At other stations, there are 8-12 touchscreens with a hexagon by them; by activating the hexagon with your bracelet, you "log in" to the touchscreen and are invited to make choices about your character's history in an interactive fashion.
Aside from that, in the exhibit, there are numerous non-interactive and interactive flatscreen displays around the showpieces. Everything written or recorded is extremely clear, easy to understand (even for kids I would believe), pertinent, and interesting. The exhibit is child-friendly as well; because everybody has earpieces, everything remains relatively quiet, and all the blinky lights and beautiful displays will captivate the attention of anybody, even if unfamiliar with the Star Wars universe. (We were there with a toddler in her terrible twos and everything went smoothly.) It really was a pleasure all the way through and I would return with other visitors for sure.
On a last technical note there was one other thing I thought was very nice: for some of the (presumably less-fragile) items like many of the costumes from the more recent episodes and some of the bigger props, like the full-scale pod racer, they eschewed the glass barriers and simply cordoned off the display areas with a warning saying they are protected by alarm. I noticed many sirens mounted to the ceiling, and what appeared to be blinkered motion detectors hanging from the ceiling as well. That was a great touch; it was awe-inspiring to stand by an original Darth Vader costume.
I read a bit about
X3 Productions, the Montreal-based company who developed this exhibit. Their stated goal is "to give more and more people reasons to enter museums;" well, as far as I'm concerned, they did a stellar (haha) job in this case.
Here follow some pretty shoddy pictures from my inept telephone. Pretty much everything in the exhibit was original; there were extremely few replicas. I believe all items below are originals.
 |
| R2-D2. |
 |
| C-3PO. |
 |
| More 3PO. |
 |
| Anakin's pod racer. |
 |
| Tusken raider and a Jawa. |
 |
| Han in carbonite. |
 |
| Leia's costume when held captive by Jabba the Hutt. |
 |
| Jabba the Hutt puppet's eyes, one of the very few parts of the puppet which have survived to this day. |
 |
| A station where you got to choose your character's mentor. |
 |
| Original Yoda animatronic. |
 |
| Y-wing. |
 |
| X-wing, snowspeeder, Mon Calamari cruiser. |
 |
| A-wing, B-wing and the Mon Calamri cruiser (hard to get the cruiser on its own). |
 |
| AT-AT. |
 |
| TIE Fighter, TIE Interceptor and TIE Bomber. |
 |
| Star destroyer, shuttle, TIE Bomber and TIE Advanced. |
 |
| Back of the star destroyer - this thing is huge. |
 |
| Close-up of the TIE Advanced. |
 |
| Chewbacca and Han's costumes. |
 |
| Han. |
 |
| Leia Organa. |
 |
| Lando Calrissian. |
 |
| Millenium Falcon. Apparently Lucas inspired himself from the shape of a hamburger when designing this. |
 |
| More ships because it's cool to see them all at once :-) |
 |
| Helmets worn by pilots during the space fighting scenes. |
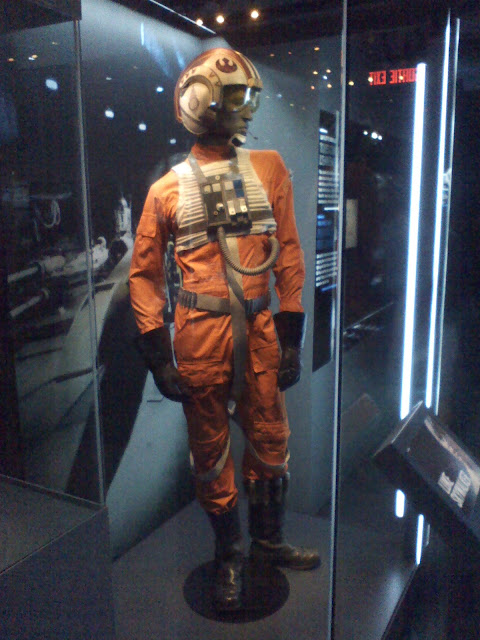 |
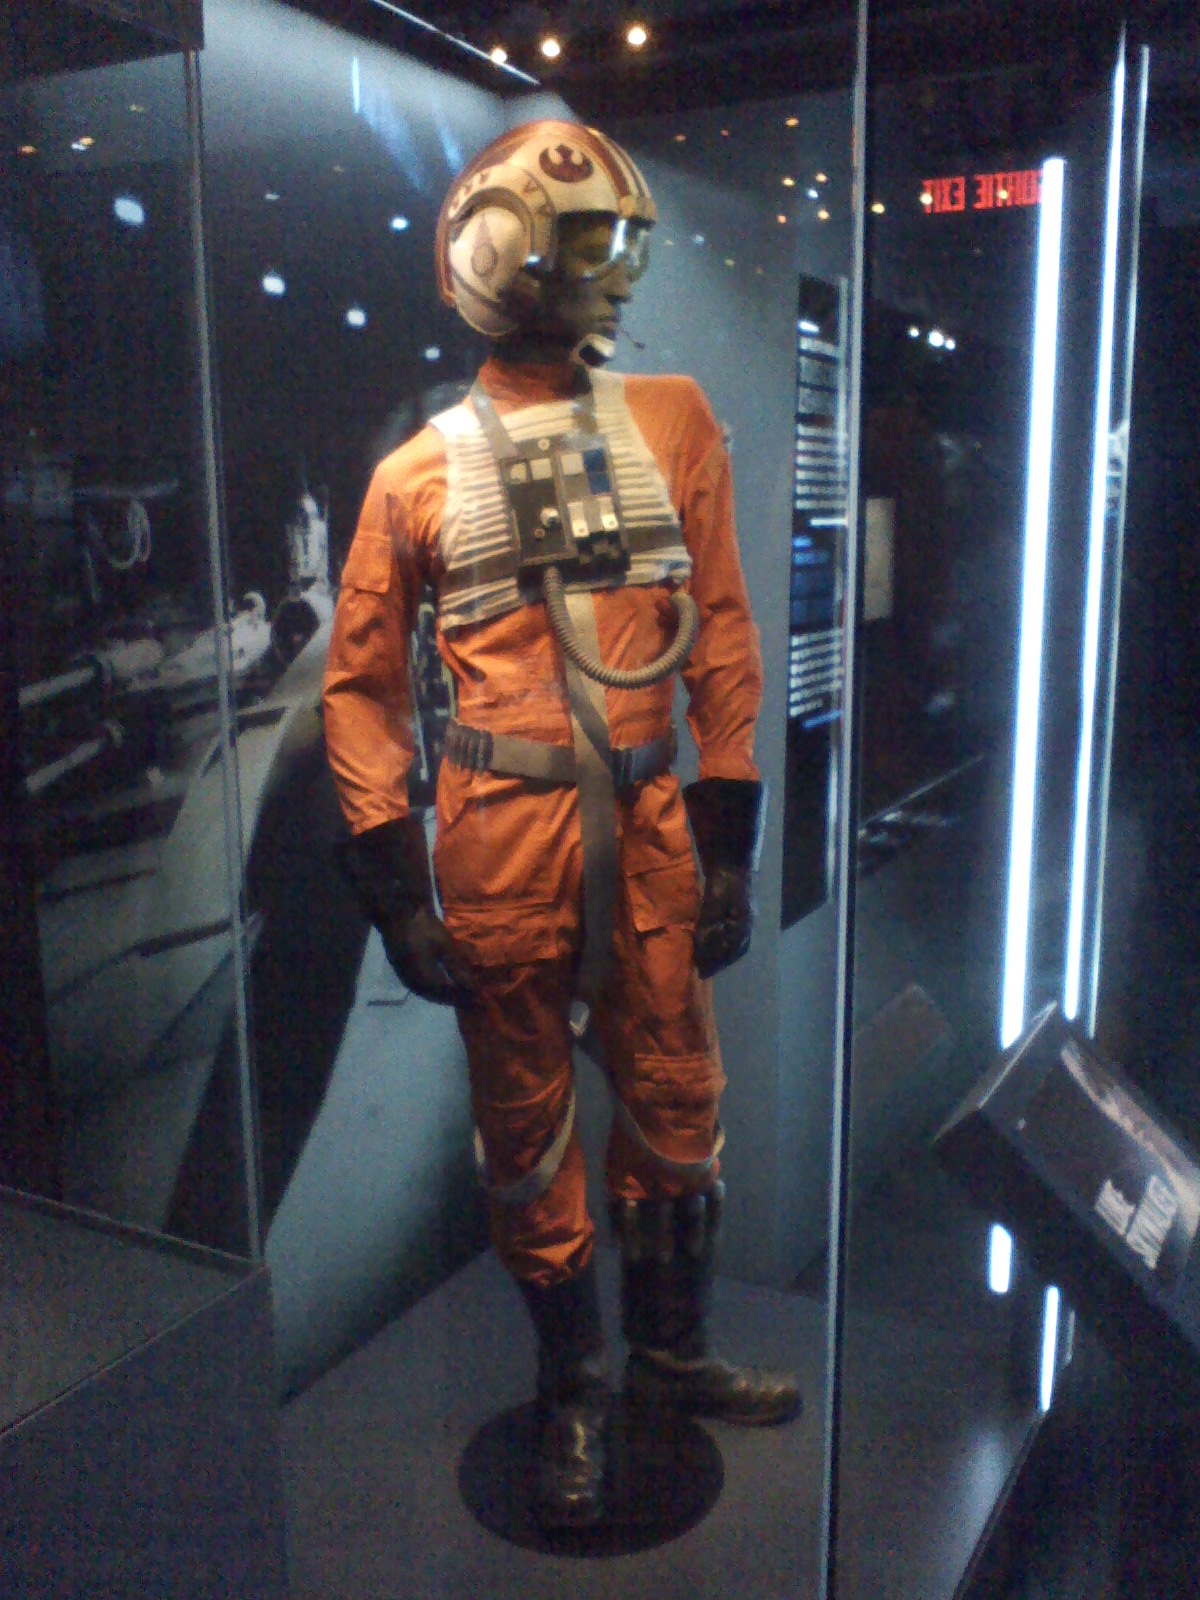
| Space suit worn by Luke. |
 |
| Anakin's suit. |
 |
| Speeder bike. |
 |
| Speeder bike from the front. |
 |
| Amidala costume. |
 |
| Another Amidala costume. |
 |
| Same, from the back. |
 |
| More Amidala. |
 |
| Select your occupation. |
 |
| Inside of Darth Vader's helmet, when Luke frees his father at the end of Episode VI. |
 |
| Same; hard to get a picture without reflections. |
 |
| Idem. |
 |
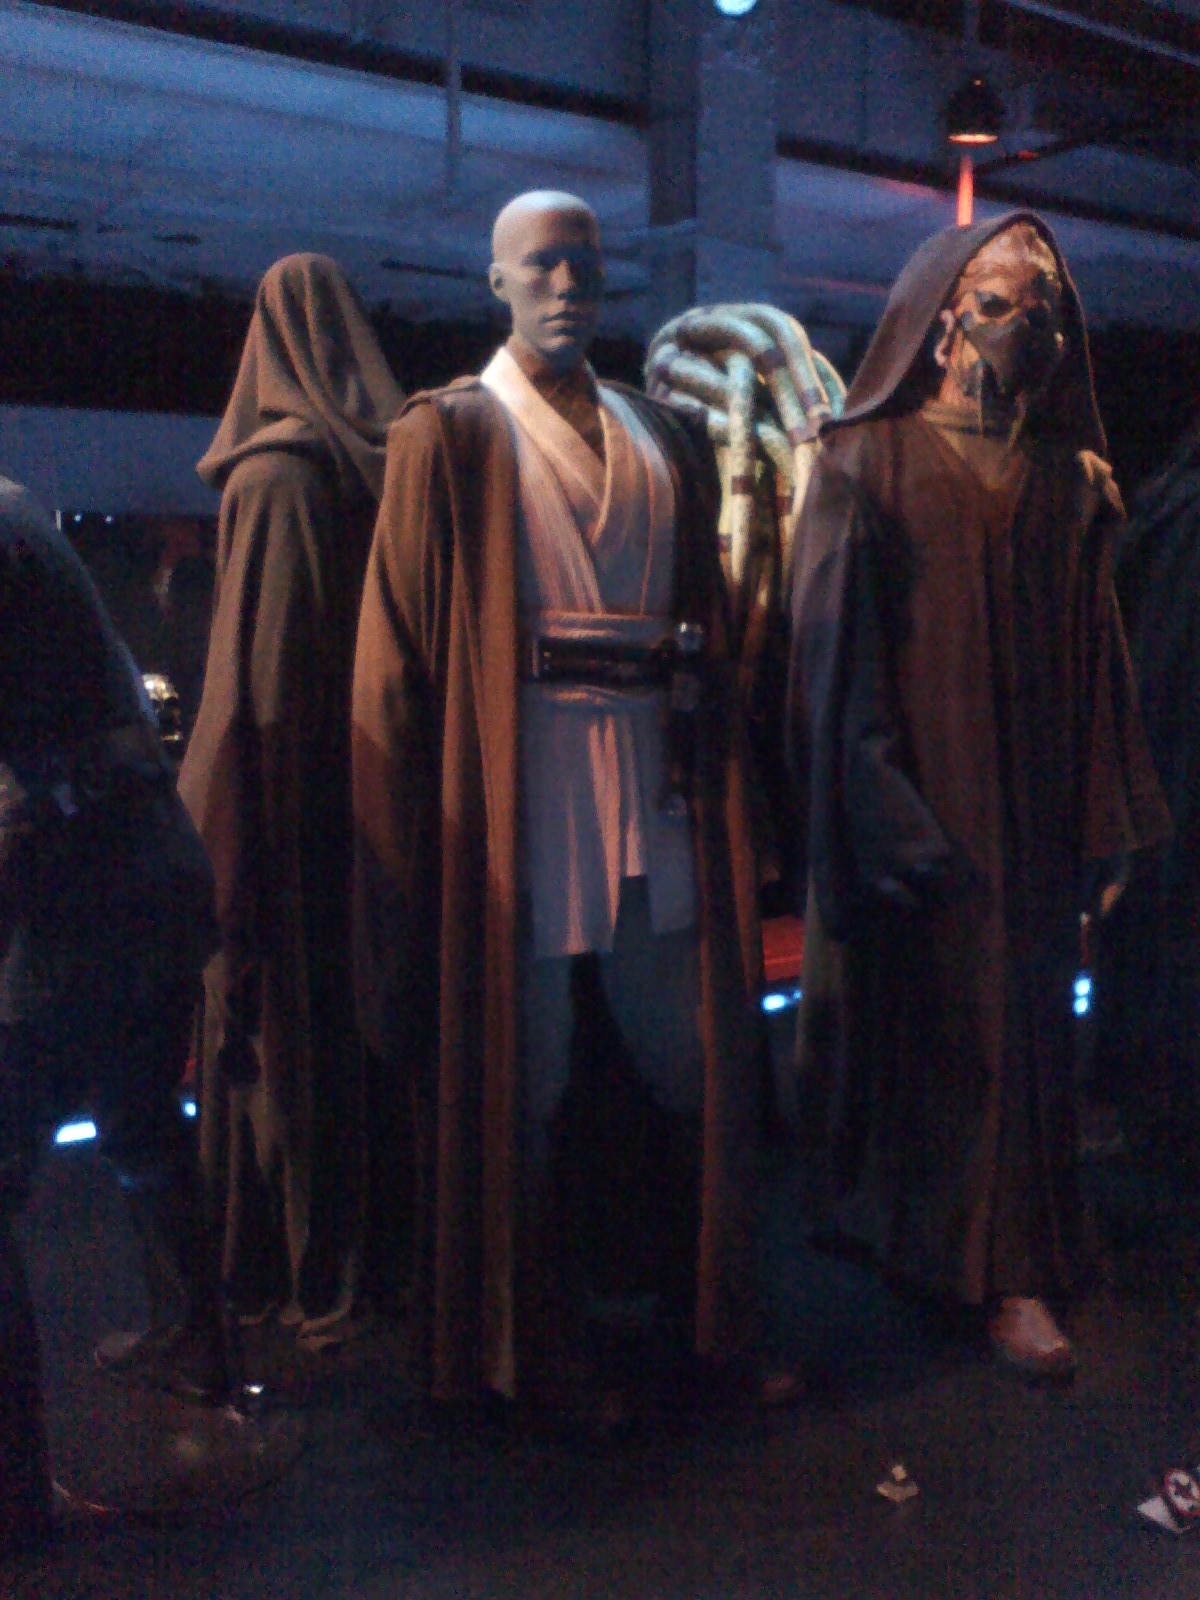
| I believe this was one of Qui-Gon's costumes, not 100% sure. (Looks quite similar to one of Mace Windu's as well.) |
 |
| Note 100% sure who this one was either. |
 |
| Obi-Wan's costume. |
 |
| A Kel Dor Jedi costume. |
 |
| Darth Maul. |
 |
| Darth Sidious, aka the Emperor. |
 |
| The man himself: Darth Vader. |
 |
| Finally, a picture of my butt-kicking bounty hunter character, whom I named after a tuber because potatoes are awesome. |
 |
| Our characters being displayed on a giant projection screen. |